繼上一篇安裝完後,VSCode 還不能執行C++,還需要做一些設定讓 VSCode 知道要使用哪一個編譯器,要去哪裡找標頭檔,和要怎麼偵錯。
需先在專案目錄下加入
.vscode
資料夾,之後的設定檔都會放在此資料夾內。
1. 程式碼自動完成 (IntelliSense)
在
.vscode
資料夾下,加入
c_cpp_properties.json
檔案。我只做了Windows作業系統下的設定。
"configurations": [
"name": "Win32",
"includePath": [
"${workspaceRoot}",
"C:\\MinGW\\include",
"C:\\MinGW\\lib\\gcc\\mingw32\\6.3.0\\include",
"C:\\MinGW\\lib\\gcc\\mingw32\\6.3.0\\include\\c++"
"defines": [
"_DEBUG",
"UNICODE",
"__GNUC__=5",
"__cdecl=__attribute__((__cdecl__))"
"intelliSenseMode": "clang-x64",
"browse": {
"path": [
"${workspaceRoot}",
"C:\\MinGW\\include",
"C:\\MinGW\\lib\\gcc\\mingw32\\6.3.0\\include",
"C:\\MinGW\\lib\\gcc\\mingw32\\6.3.0\\include\\c++"
"limitSymbolsToIncludedHeaders": true,
"databaseFilename": ""
"version": 3
這裡需要注意 path 內的
C:\\MinGW\\lib\\gcc\\mingw32\\6.3.0\\include\\c++
,要與安裝 MinGW 的路徑相符。
2. 建置 (Building)
在
.vscode
資料夾下,加入
tasks.json
檔案。
// See https://go.microsoft.com/fwlink/?LinkId=733558
// for the documentation about the tasks.json format
"version": "2.0.0",
"tasks": [
"label": "build",
"type": "shell",
"command": "g++",
"args": [
"-g", "${file}", "-o", "${fileBasenameNoExtension}.exe"
"group": {
"kind": "build",
"isDefault": true
這裡我想要讓編譯出來的exe檔名和原始檔一樣,所以我在args設定:
"-g", "${file}", "-o", "${fileBasenameNoExtension}.exe"
3. 偵錯 (Debugging)
在
.vscode
資料夾下,加入
launch.json
檔案。
"version": "0.2.0",
"configurations": [
"name": "(gdb) Launch",
"type": "cppdbg",
"request": "launch",
"program": "${workspaceRoot}/${fileBasenameNoExtension}.exe",
"args": [],
"stopAtEntry": false,
"cwd": "${workspaceRoot}",
"environment": [],
"externalConsole": true,
"MIMode": "gdb",
"miDebuggerPath": "C:\\MinGW\\bin\\gdb.exe",
"setupCommands": [
"description": "Enable pretty-printing for gdb",
"text": "-enable-pretty-printing",
"ignoreFailures": true
"preLaunchTask": "build"
program
對應執行檔名稱。
miDebuggerPath
需與安裝 MinGW 的路徑相符。
preLaunchTask
在偵錯前要執行的task,對應 tasks.json 內的 taskName。
如果不設定 preLaunchTask 在偵錯前必須先手動執行編譯,等編譯完後再執行偵錯,使用起來不方便,設定後只需要按F5就能自動完成編譯和偵錯就像在使用 Visual Studio 一樣 XD。
到這裡已經能用 VSCode編譯、執行、偵錯 C++程式,不過真正使用後會發現 IntelliSense怎麼好像和 Visual Studio有一段落差,而且沒有語法檢查功能,感覺只是進階版的記事本 XD,所以在下一篇會繼續介紹有那些套件可以讓 VSCode 更好用,更像在使用 Visual Studio。
參考文章:
C/C++ for VS Code (Preview)
相關文章:
[VSCode] Visual Studio Code 執行 C++ (1) - 安裝 VSCode + MinGW
[VSCode] Visual Studio Code 執行 C++ (2) - IntelliSense + Building + Debugging
[VSCode] Visual Studio Code 執行 C++ (3) - 語法檢查
[VSCode] Visual Studio Code 執行 C++ (4) - 範本 (Template)
[VSCode] Visual Studio Code 執行 C++ (5) - 中文亂碼
[VSCode] Visual Studio Code 執行 C++ (6) - Code Runner
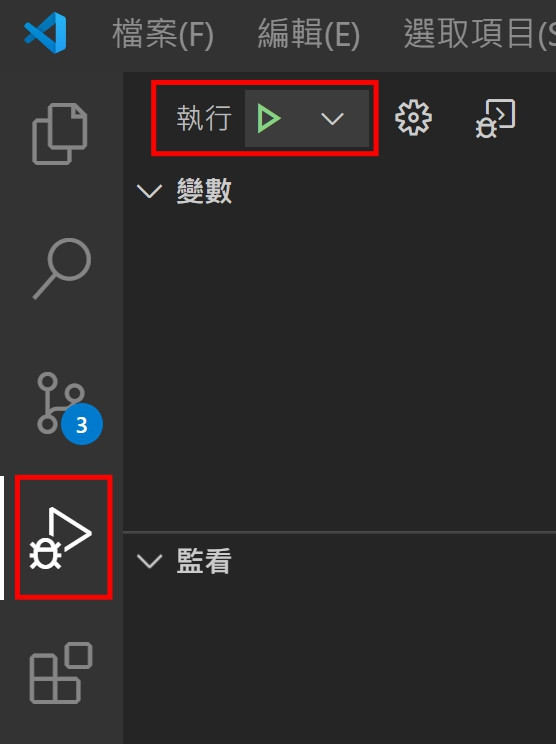
請問一下,我現在vs code 的頁面長這樣
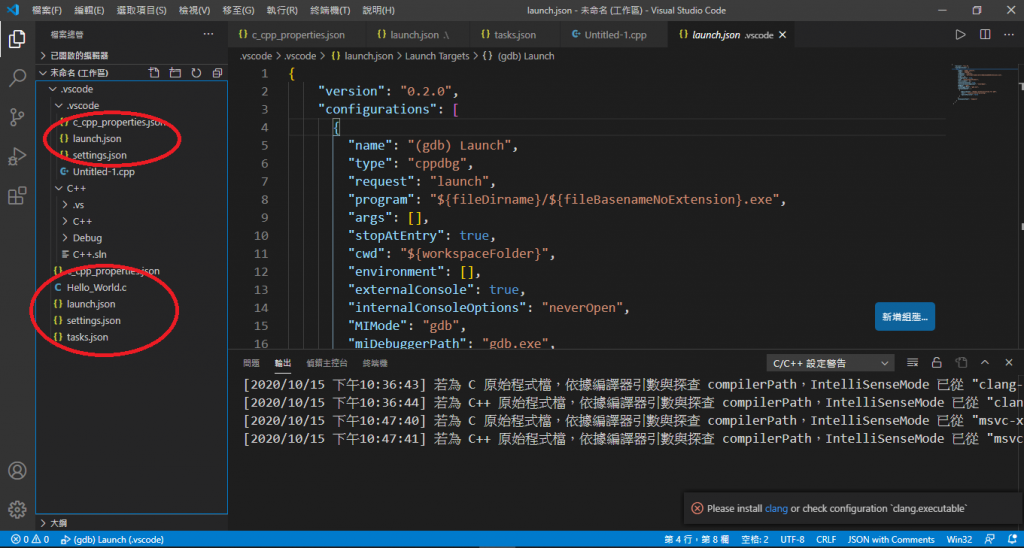
我想要問一下,請問文中所說的是要更改上面的部分還是下面的部分
我現在是改下面的地方 因為我一開始改上面的地方他出現了"preLaunchTask“build”已終止,退出代碼為1"
現在我改下面,他出現了一個"找不到工作compile"
請問一下我改怎麼解決
麻煩您了~~
檔案放在工作目錄下比較合適 (可以參考樓上 lydia0231 的問題)
VSCode 一開始開啟的資料夾,稱為工作目錄或專案目錄,我習慣將檔案放在這裡,
.vscode
則用來放設定檔,裡面一般不放程式。
CTRL+N 建立的檔案可以儲存到任何位置,但執行只限於工作目錄下 (工作目錄或子目錄),如果想放桌面,開啟資料夾時選桌面當工作目錄就可以,不過不建議這樣做。
我剛剛把之前寫的Code按"將資料夾放入工作區"
結果編譯的時候出現了以下的警告
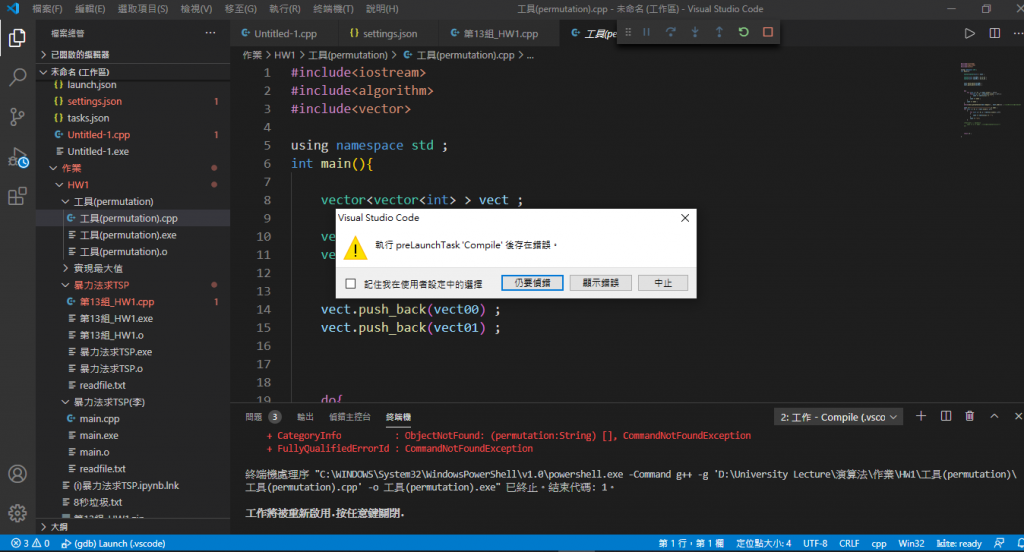
之後按下繼續後出現了這個
請問一下我是哪裡出錯了呢? 還是其實不可以這樣用?
麻煩您了~~
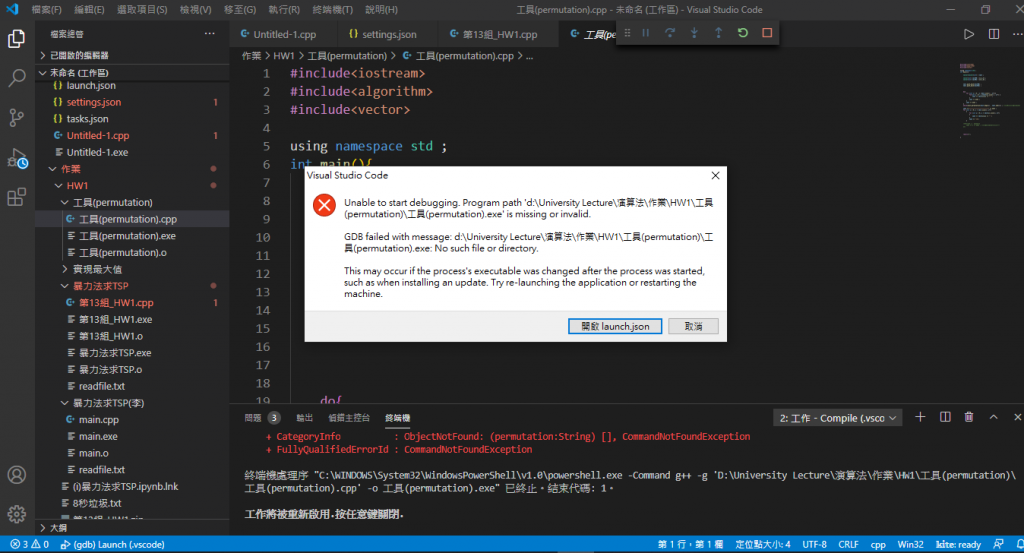
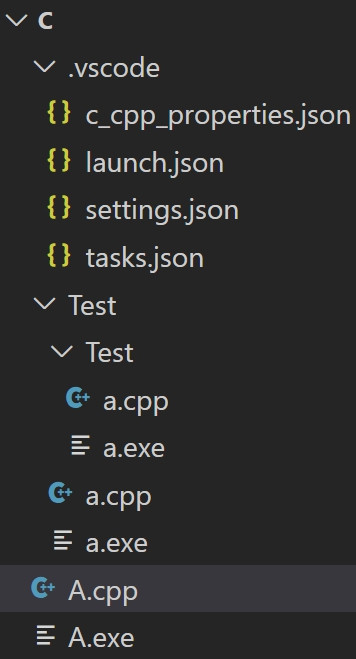
不好意思 我想要請問一下 有沒有甚麼方法可以把exe檔跟cpp檔放在一起 因為我現在這樣拉進一個資料夾 他都只會在.vscode資料夾下建立exe檔 這樣他就會說我的cpp檔無法執行 因為找不到exe檔
"program": "${workspaceRoot}/${relativeFileDirname}/${fileBasenameNoExtension}.exe",
# 調整 tasks.json
"-g", "${file}", "-o", "${workspaceRoot}/${fileBasenameNoExtension}.exe"
"-g", "${file}", "-o", "${workspaceRoot}/${relativeFileDirname}/${fileBasenameNoExtension}.exe"
```JSON
"program": "${workspaceRoot}/${relativeFileDirname}/${fileBasenameNoExtension}.exe",
#### # 調整 tasks.json
**調整前**
```JSON
"-g", "${file}", "-o", "${workspaceRoot}/${fileBasenameNoExtension}.exe"
**調整後**
```JSON
"-g", "${file}", "-o", "${workspaceRoot}/${relativeFileDirname}/${fileBasenameNoExtension}.exe"
#### 結果
"type": "cppdbg",
"request": "launch",
"program": "${fileDirname}\\${fileBasenameNoExtension}.exe",
"args": [],
"stopAtEntry": false,
"cwd": "${workspaceFolder}",
"environment": [],
"externalConsole": false,
"MIMode": "gdb",
"miDebuggerPath": "C:\\mingw-w64\\mingw64\\bin\\gdb.exe",
"setupCommands": [
"description": "Enable pretty-printing for gdb",
"text": "-enable-pretty-printing",
"ignoreFailures": true
"preLaunchTask": "C/C++: g++.exe build active file"
tesk.json
"version": "2.0.0",
"tasks": [
"label": "build",
"type": "shell",
"command": "g++",
"args": [
"-g",
"${workspaceFolder}\\*.cpp",
"-o",
"${workspaceRoot}/${relativeFileDirname}/${fileBasenameNoExtension}.exe"
"group": "build"
"type": "cppbuild",
"label": "C/C++: gcc.exe 建置使用中檔案",
"command": "C:\\mingw-w64\\bin\\gcc.exe",
"args": [
"-g",
"${file}",
"-o",
"${fileDirname}\\${fileBasenameNoExtension}.exe"
"options": {
"cwd": "${workspaceFolder}"
"problemMatcher": [
"$gcc"
"group": {
"kind": "build",
"isDefault": true
"detail": "偵錯工具產生的工作。"
"type": "shell",
"label": "C/C++: g++.exe build active file",
"command": "C:\\mingw-w64\\mingw64\\bin\\g++.exe",
"args": ["-g", "${file}", "-o", "${fileDirname}\\${fileBasenameNoExtension}.exe"],
"options": {
"cwd": "${workspaceFolder}"
"problemMatcher": ["$gcc"],
"group": {
"kind": "build",
"isDefault": true
首先安裝這個套件
VS Code C/C++ Makefile Project
接著使用
CTRL+SHIFT+P
選擇
C++ Make: INIT Project
新增 Makefile 檔案
修改其中幾個參數
CXXFLAGS = -std=c++11 -Wall -g
APPNAME = TestC (專案名稱)
SRCDIR = D:\Project\TestC (專案路徑)
接著修改 launch.json
"program": "${fileDirname}/main.exe",
最後修改 tasks.json,這樣就完成了
"command": "mingw32-make",
"args": [],
參考資料:

https://blog.csdn.net/m0_37621078/article/details/88320010

https://www.youtube.com/watch?v=9VpiGwp8Vos
首先安裝這個套件
[VS Code C/C++ Makefile Project](https://marketplace.visualstudio.com/items?itemName=adriano-markovic.c-cpp-makefile-project)
接著使用 `CTRL+SHIFT+P` 選擇 `C++ Make: INIT Project` 新增 Makefile 檔案
修改其中幾個參數
CXXFLAGS = -std=c++11 -Wall -g
APPNAME = TestC (專案名稱)
SRCDIR = D:\Project\TestC (專案路徑)
接著修改 `launch.json`
"program": "${fileDirname}/main.exe",
最後修改 `tasks.json`,這樣就完成了
"command": "mingw32-make",
"args": [],
參考資料:
https://blog.csdn.net/m0_37621078/article/details/88320010
https://www.youtube.com/watch?v=9VpiGwp8Vos

