纯CSS实现的文字效果竟然可以这么酷炫!


大家好,我是前端实验室的大师兄!
前言
CSS
是一门很特殊的语言,你认为
CSS
只能用来控制网页的结构与样式,但只要你有丰富的想象力,就能创造无限可能。
本文中大师兄为你精选了5个使用纯
CSS
实现的文字炫酷效果,欣赏完之后一定要自己实现体验一番哦~
一.渐变文字效果
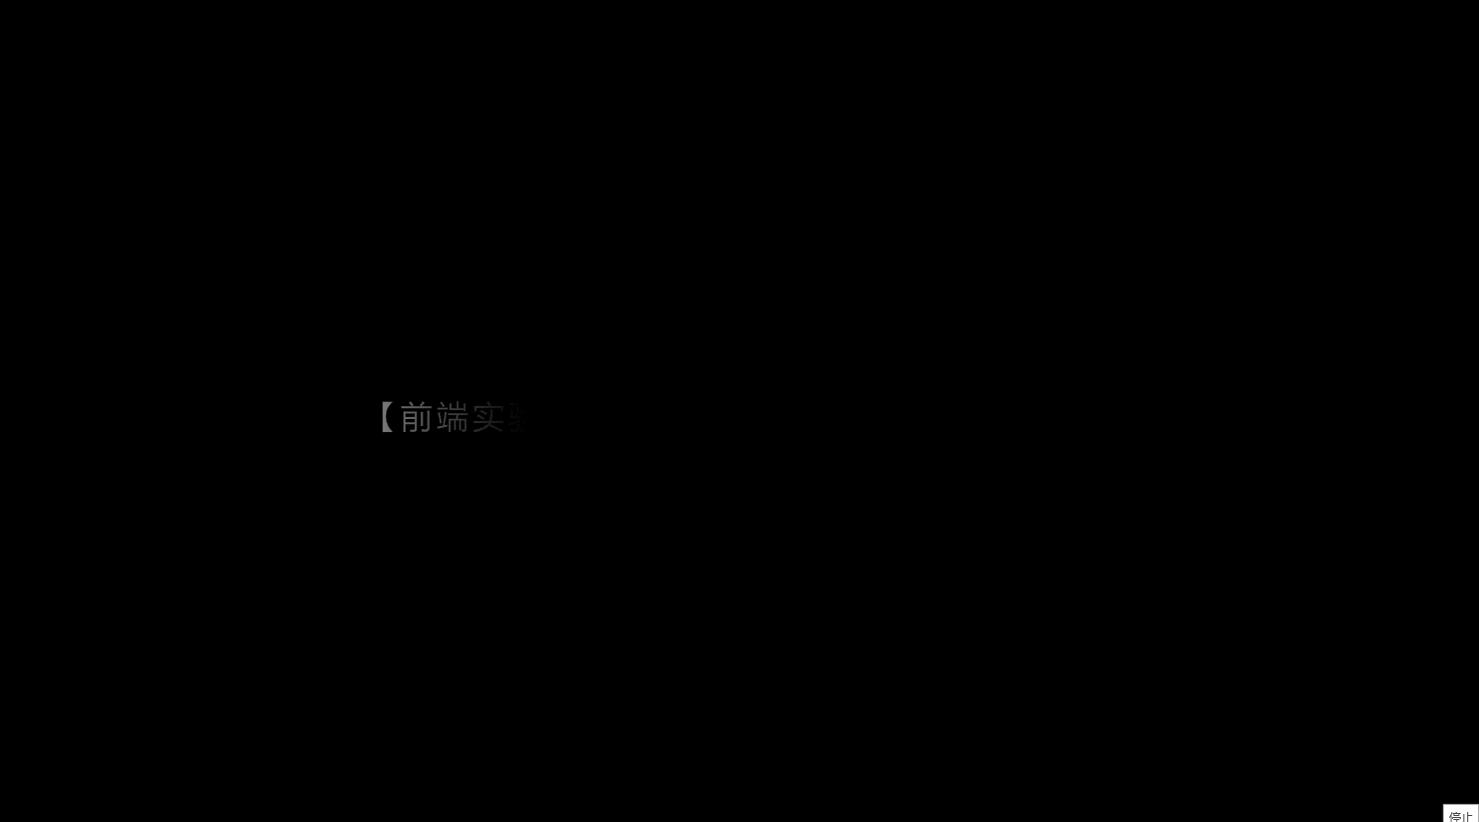
该效果主要利用
background-clip:text
配合
color
实现渐变文字效果 首先了解
background-clip: text;
的意思:以盒子内的文字作为裁剪区域向外裁剪,文字之外的区域都将被裁剪掉。
- 给文本容器设置渐变背景
background: linear-gradient(90deg, black 0%, white 50%, black 100%);-
设置
webkit-background-clip属性,以文字作为裁剪区域向外裁剪
-webkit-background-clip: text;
background-clip: text;-
通过
-webkit-animation属性设置动画,即可实现上述效果
-webkit-animation: shining 3s linear infinite;
        animation: shining 3s linear infinite;
@-webkit-keyframes shining {
  from {
    background-position: -500%;
  to {
    background-position: 500%;
@keyframes shining {
  from {
    background-position: -500%;
  to {
    background-position: 500%;
}- 样式引用
<html>
    <link rel="stylesheet" href="./css/neno-text-style.css">
        <p class="neon">【前端实验室】分享前端最新、最实用前端技术</p>
    </body>
</html>
二.彩虹文字效果(跑马灯)
.text {
letter-spacing: 0.2rem;
font-size: 1.5rem;
background-image: -webkit-linear-gradient(left, #147B96, #E6D205 25%, #147B96 50%, #E6D205 75%, #147B96);
-webkit-
text-fill-color: transparent;
-webkit-background-clip: text;
-webkit-background-size: 200% 100%;
}
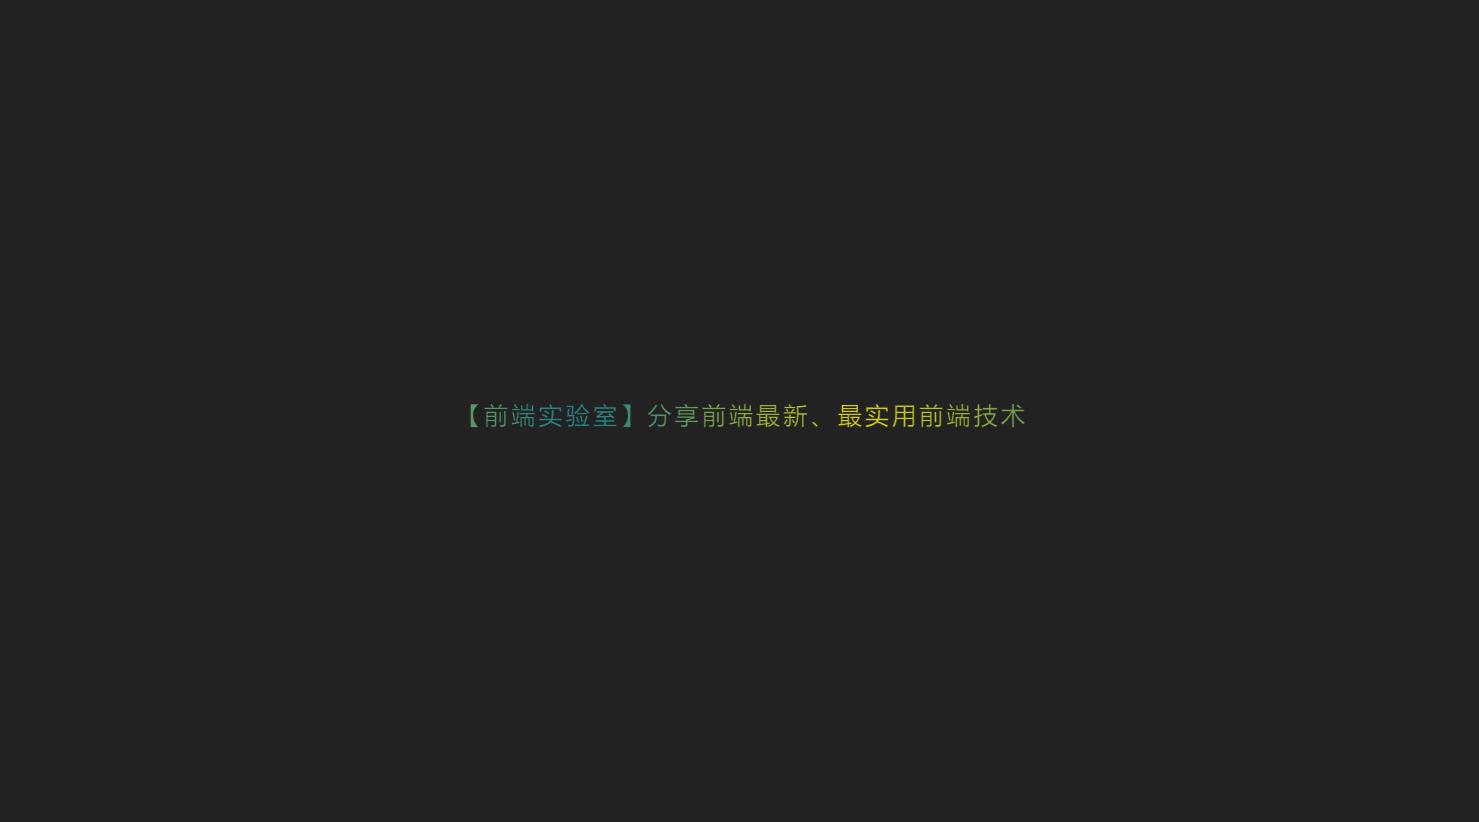
该效果也是利用
background-clip:text
和线性渐变属性
linear-gradient
实现,通过设置区域颜色值实现了彩虹文字的效果。
动态彩虹文字需要设置
-webkit-animation
属性
-webkit-animation: maskedAnimation 4s infinite linear;
@keyframes maskedAnimation {
    0% {
        background-position: 0 0;
    100% {
        background-position: -100% 0;
}
CSS样式
.rainbow {
    letter-spacing: 0.2rem;
    font-size: 1.2rem;
    text-transform: uppercase;
.rainbow span {
    animation: rainbow 50s alternate infinite forwards;
@keyframes rainbow {
        color: #efc68f;
    100% {
        color: #8fefed;
        <link rel="stylesheet" href="./css/rainbow-color-text-style.css">
    </head>
        <div class="text">【前端实验室】分享前端最新、最实用前端技术</div>
    </body>
</html>
三.发光文字效果
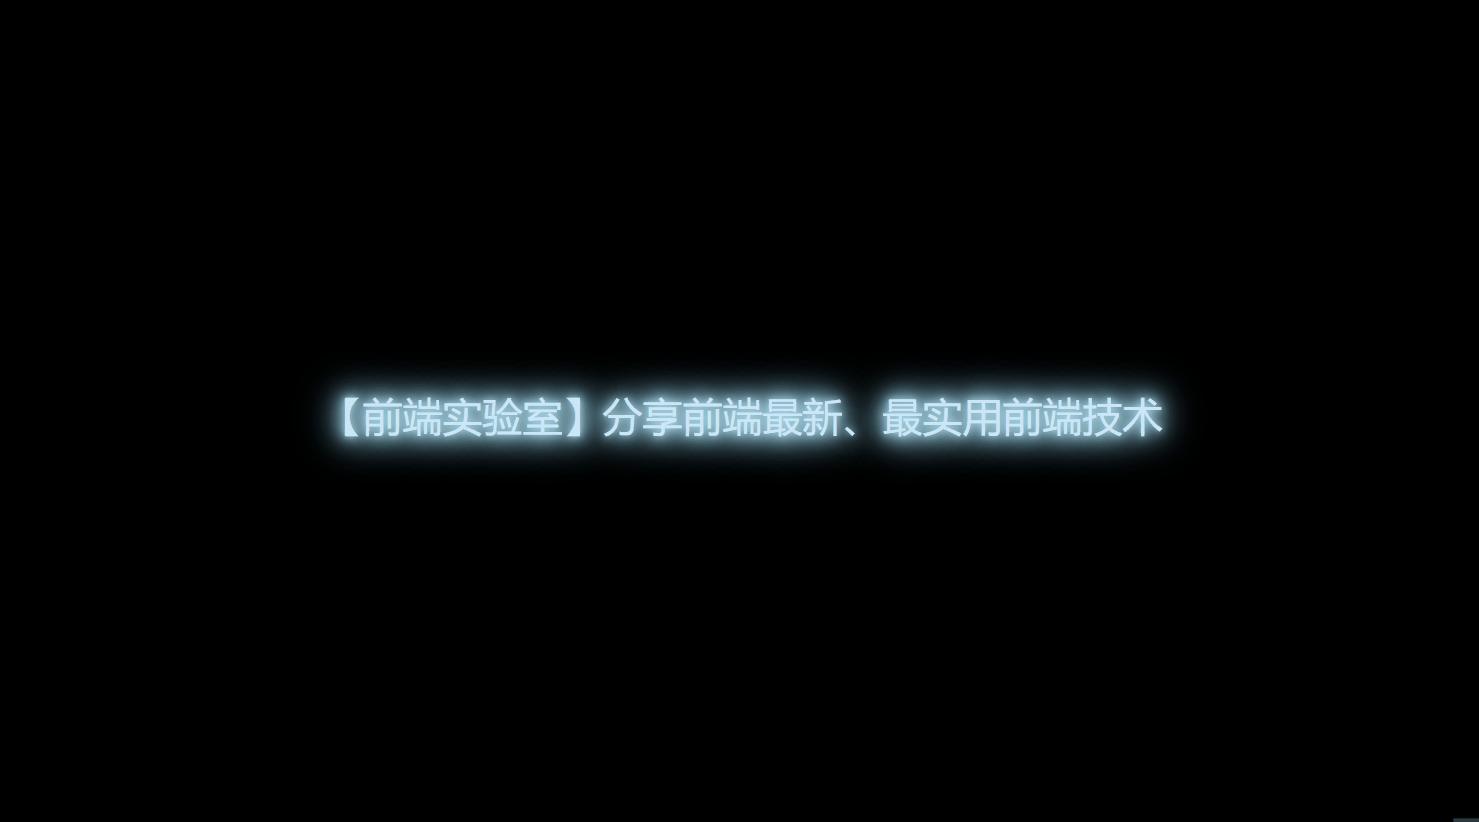
该效果主要利用
text-shadow
属性实现。
text-shadow
属性向文本添加一个或多个阴影。该属性是逗号分隔的阴影列表,每个阴影有两个或三个长度值和一个可选的颜色值进行规定。
.neon {
    color: #cce7f8;
    font-size: 2.5rem;
    -webkit-animation: shining 0.5s alternate infinite;
    animation: shining 0.5s alternate infinite;
@-webkit-keyframes shining {
    from {
        text-shadow: 0 0 10px lightblue, 0 0 20px lightblue, 0 0 30px lightblue, 0 0 40px skyblue, 0 0 50px skyblue, 0 0 60px skyblue;
    to {
        text-shadow: 0 0 5px lightblue, 0 0 10px lightblue, 0 0 15px lightblue, 0 0 20px skyblue, 0 0 25px skyblue, 0 0 30px skyblue;
        <link rel="stylesheet" href="./css/neno-text-style.css">
    </head>
        <p class="neon">【前端实验室】分享前端最新、最实用前端技术</p>
    </body>
</html>
四.打字机效果
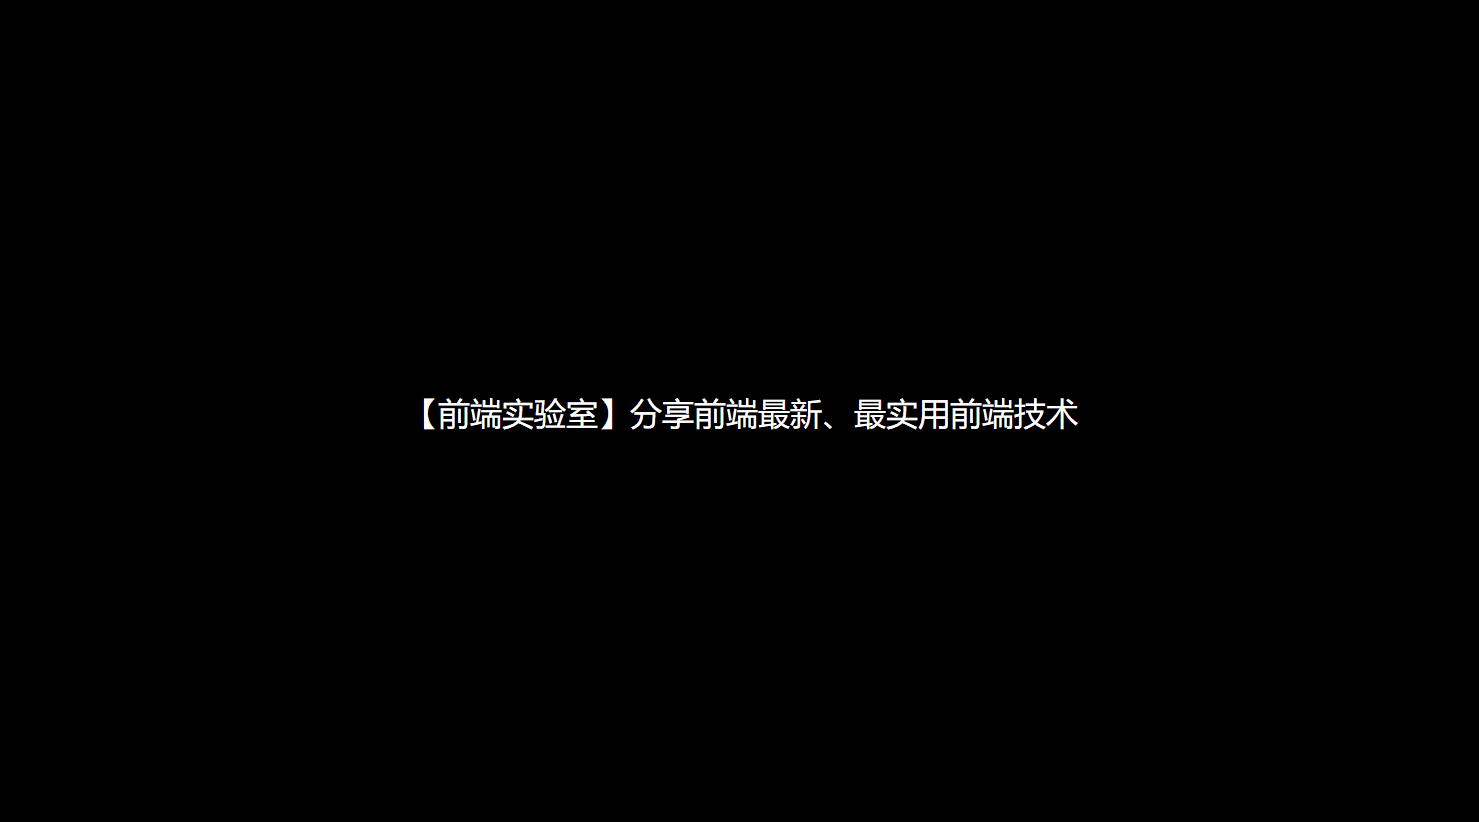
该效果主要是通过改变容器的宽度实现的。
.typing {
    color: white;
    font-size: 2em;
    width: 21em;
    height: 1.5em;
    border-right: 1px solid transparent;
    animation: typing 2s steps(42, end), blink-caret .75s step-end infinite;
    font-family: Consolas, Monaco;
    word-break: break-all;
    overflow: hidden;
/* 打印效果 */
@keyframes typing {
    from {
        width: 0;
    to {
        width: 21em;
/* 光标 */
@keyframes blink-caret {
    from,
    to {
        border-color: transparent;
    50% {
        border-color: currentColor;
        <link rel="stylesheet" href="./css/typing-style.css">
    </head>
        <div class="typing">【前端实验室】分享前端最新、最实用前端技术</div>
</html>
white-space:nowrap
属性主要是为了保证一行显示,这里考虑到英文字母的显示,去除了该属性,保证不会出现字符间断的情况。
word-break:break-all
使英文字符可以一个一个的呈现出来。
animation
属性中的
steps
功能符可以让动画断断续续的执行,而非连续执行。
steps()
语法表示:
steps(number, position)
,其中
number
关键字表示将动画分为多少段 ;
position
关键字表示动画是从时间段的开头连续还是末尾连续,支持
start
和
end
俩个关键字,含义分别如下:
-
start:表示直接开始 -
end:表示戛然而止,为默认值
光标效果是通过
box-shadow
模拟实现的。 通过上述的这几个属性就可以实现一个简易的打字机效果了~
五.故障风格文字效果
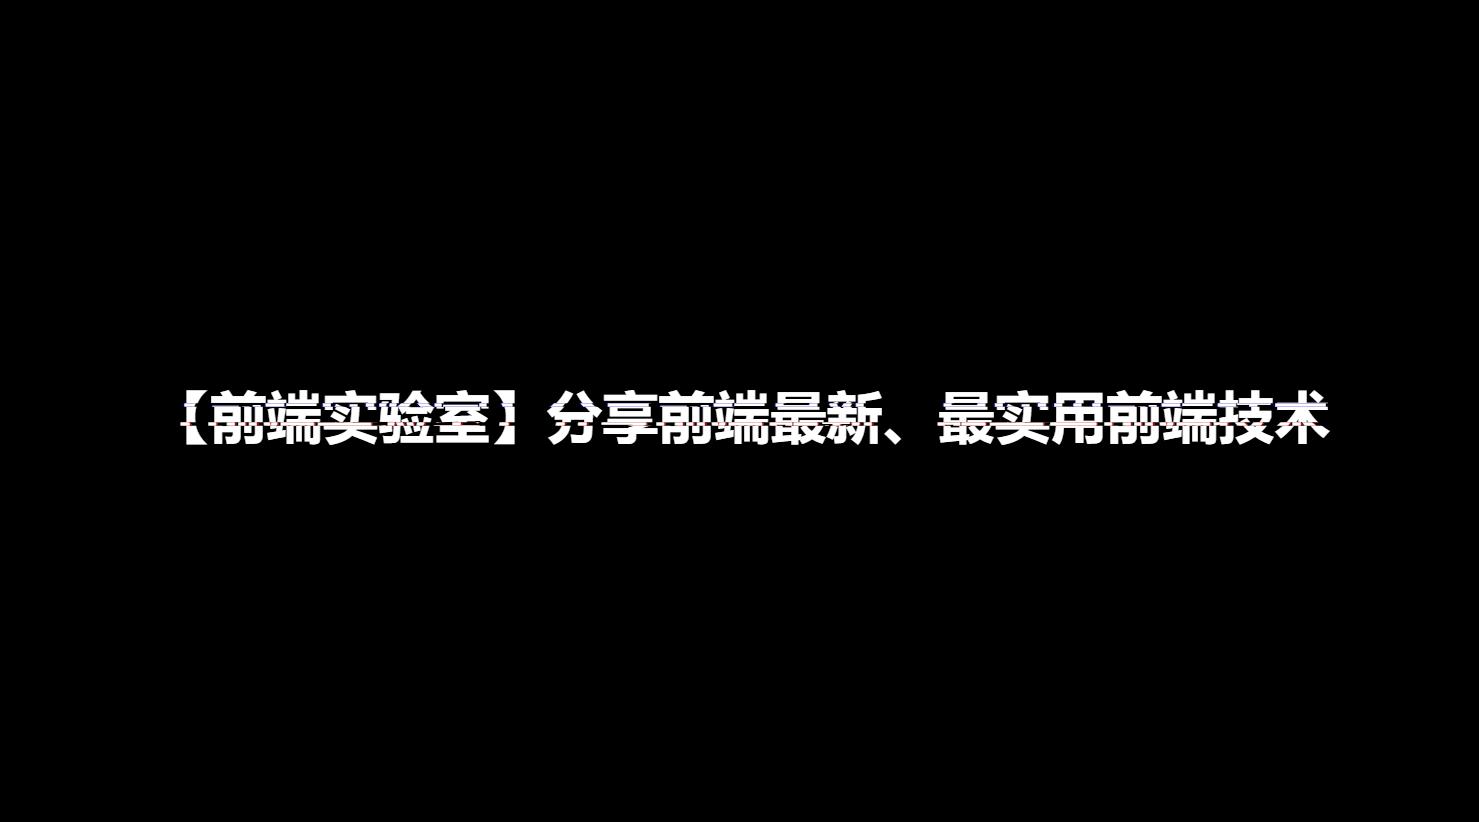
该动画效果比较复杂,主要用到了
CSS伪元素
、
元素自定义属性
、
蒙版属性
、
animation动画
等等。
<html>
        <link rel="stylesheet" href="./css/fault-style.css">
    </head>
        <div class="text" data-text="【前端实验室】分享前端最新、最实用前端技术">
            【前端实验室】分享前端最新、最实用前端技术
        </div>
</html>
这里主要使用了自定义属性,
data-
加上自定义的属性名,赋值要显示的文字供伪元素获取到对应的文字。
@keyframes animation-before{
    0% {
        clip-path: inset(0 0 0 0);
    100% {
        clip-path: inset(.62em 0 .29em 0);
@keyframes animation-after{
      0% {
        clip-path: inset(0 0 0 0);
    100% {
        clip-path: inset(.29em 0 .62em 0);
}
这里设置了两个
keyframes
,分别为
animation-before
、
animation-after
,前者是准备给伪元素 before 使用的,后者是给伪元素 after 使用的。
其中
clip-path
属性是
CSS3
的新属性
蒙版
,其中的
inset()
值表示的是蒙版形状为矩形,定义蒙版的作用区域后通过
@keyframes
来设置
逐帧动画
,使蒙版的作用区域在垂直方向一直变化,实现上下抖动的效果。
.text{
    display: inline-block;
    font-size: 3.5em;
    font-weight: 600;
    padding: 0 4px;
    color: white;
    position: relative;
.text::before{
    content: attr(data-text);
    position: absolute;
    left: -2px;
    width: 100%;
    background: black;
    text-shadow:2px 0 red;
    animation: animation-before 3s infinite linear alternate-reverse;
.text::after{
    content: attr(data-text);
    position: absolute;