Cropper.js 是一款非常强大却又简单的图片裁剪工具,它可以进行非常灵活的配置,支持手机端使用,支持包括 IE9 以上的现代浏览器。
cropperjs项目地址:
https://github.com/fengyuanchen/cropperjs
jquery-cropper是一款使用简单且功能强大的图片剪裁jQuery插件。
jquery-cropper项目地址:
https://github.com/fengyuanchen/jquery-cropper
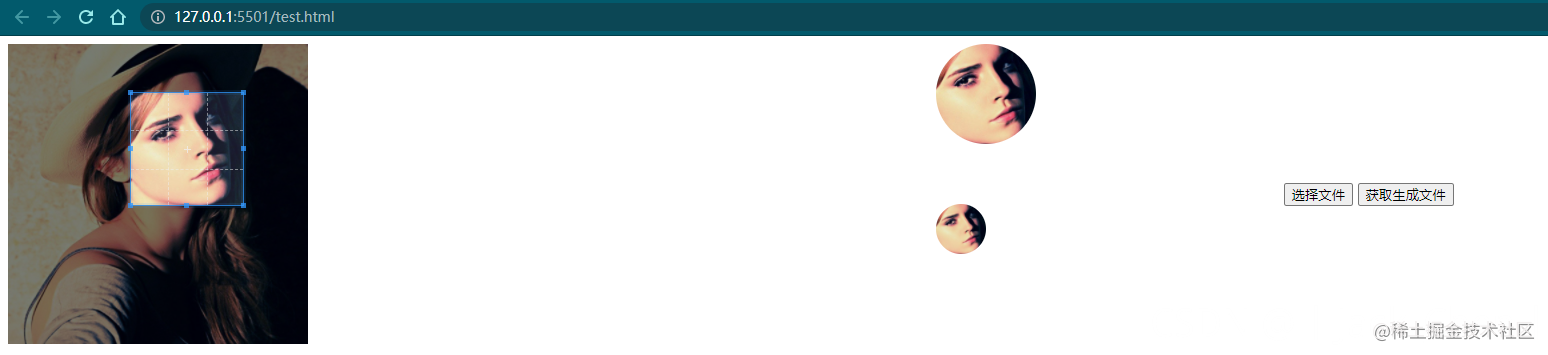
下载cropperjs项目,进入docs目录,访问index.html即可访问示例Demo
<!DOCTYPE html>
<html lang="en">
<meta charset="UTF-8">
<title>Title</title>
<link rel="stylesheet" href="/css/cropper.css"/>
<script src="/js/jquery.js"></script>
<script src="/js/cropper.js"></script>
<script src="/js/jquery-cropper.js"></script>
<script>
$(function () {
var $image = $('#image')
const options = {
aspectRatio: 1,
preview: '.img-preview'
$image.cropper(options)
$('#selectFile').on('click', function () {
$('#file').click()
$('#file').on('change', function (e) {
var filelist = e.target.files
if (filelist.length === 0) {
alert("请选择照片")
var file = e.target.files[0]
var imgURL = URL.createObjectURL(file)
$image
.cropper('destroy')
.attr('src', imgURL)
.cropper(options)
$('#ok').on('click', function () {
var dataURL = $image
.cropper('getCroppedCanvas', {
width: 100,
height: 100
.toDataURL('image/png')
console.log(dataURL);
</script>
</head>
<!-- 图片裁剪区域 -->
<div style="width: 300px; height: 300px;float: left">
<img id="image" src="/images/sample.jpg"/>
<!-- 图片预览区域 -->
<div style="float: left;margin-left: 33%;">
<!-- 宽高为 100px 的预览区域 -->
<div class="img-preview" style="width: 100px;height: 100px;overflow: hidden; border-radius: 50%;"></div>
<div style="margin-top: 60px;">
<!-- 宽高为 50px 的预览区域 -->
<div class="img-preview" style="width: 50px;height: 50px;overflow: hidden; border-radius: 50%;"></div>
<div style="float: right;width: 33%;line-height: 300px;">
<input type="file" id="file" accept="image/png,image/jpeg" hidden/>
<button type="button" id="selectFile">选择文件</button>
<button type="button" id="ok">获取生成文件</button>
</body>
</html>