使用Python进行自动化录屏
如何在执行Python代码/操作时自动生成录屏


本文将展示如何在有另一个Python进程运行时,使用Python自动录制屏幕生成视频,并用以检查其执行情况。
大多数时候,当需要对非常老旧的系统进行自动化时,将不得不通过GUI来完成,因为它们没有API,GUI自动化可能非常棘手并且会出现意外行为。
解决这个问题的最好方法是尝试处理代码中的每一个可能的异常,但也可能会发生意外错误。所以当发生异常时,最好保存一个异常情况的视频来以便于分析,并调试代码。

怎么做?
使用Python的多进程库,在与运行自动化的线程不同的线程中,运行屏幕录制脚本。已经用三个不同的库测试了这个脚本的屏幕录制:
Mss
,
Pillow
,和
Pyautogui
。在这些库中,
Mss
是表现最好的一个。
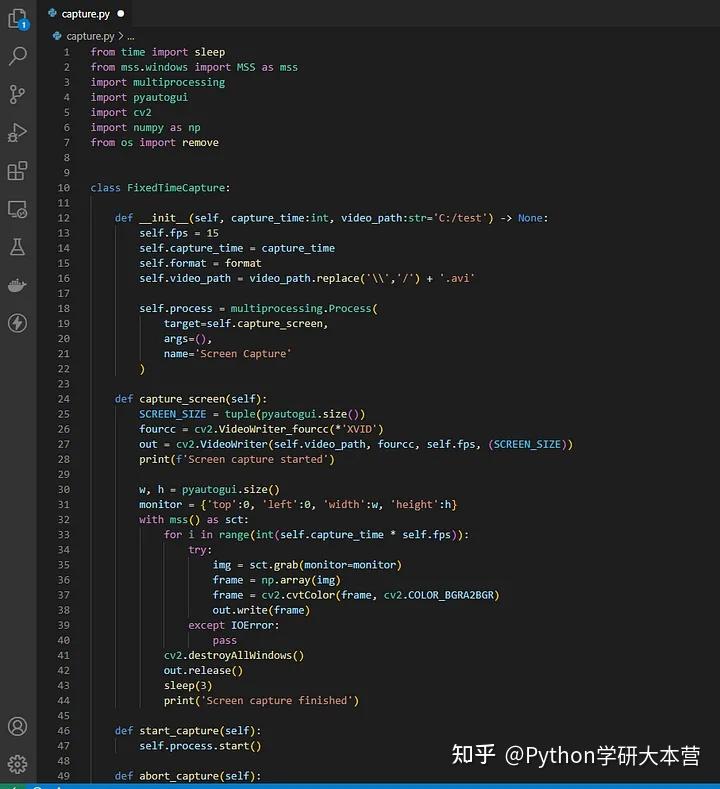
以下是固定时间录制的代码片段:
from time import sleep
from mss.windows import MSS as mss
import multiprocessing
import pyautogui
import cv2
import numpy as np
from os import remove
class FixedTimeCapture:
    def __init__(self, capture_time:int, video_path:str='C:/test') -> None:
        self.fps = 15
        self.capture_time = capture_time
        self.video_path = video_path.replace('\\','/') + '.avi'
        self.process = multiprocessing.Process(
            target=self.capture_screen,
            args=(),
            name='Screen Capture'
    def capture_screen(self):
        SCREEN_SIZE = tuple(pyautogui.size())
        fourcc = cv2.VideoWriter_fourcc(*'XVID')
        out = cv2.VideoWriter(self.video_path, fourcc, self.fps, (SCREEN_SIZE))
        print(f'Screen capture started')
        w, h = pyautogui.size()
        monitor = {'top':0, 'left':0, 'width':w, 'height':h}
        with mss() as sct:
            for i in range(int(self.capture_time * self.fps)):
                try:
                    img = sct.grab(monitor=monitor)
                    frame = np.array(img)
                    frame = cv2.cvtColor(frame, cv2.COLOR_BGRA2BGR)
                    out.write(frame)
                except IOError:
            cv2.destroyAllWindows()
            out.release()
            sleep(3)
            print('Screen capture finished')
    def start_capture(self):
        self.process.start()
    def abort_capture(self):
        if not self.process.is_alive():
            print('The process is not executing')
        else:
            print('Aborting screen capture')
            self.process.kill()
            sleep(3)
            try:
                remove(self.video_path)
            except:
                print('Couldnt delete the file')
if __name__ == '__main__':
    ct = FixedTimeCapture(capture_time=10, video_path=r'C:\test')
    ct.start_capture()
    # 如果想中止录制并在其完成之前删除文件
    # ct = FixedTimeCapture(capture_time=10, video_path=r'C:\test2')
    # ct.start_capture()
    # sleep(5)
    # ct.abort_capture()
请注意,其中包含了一个选项来中止进程并在必要时删除文件。使用的是
AVI
视频编解码器,录制速度为15帧/秒,但可以自行更改这些设置。
不知道录制的过程要花多长时间的情况下,可以创建一个函数来开始录制,另一个函数来结束录制。
from time import sleep
from mss.windows import MSS as mss
import multiprocessing
import pyautogui
import cv2
import numpy as np
from os import remove
class CaptureScreen:
    def __init__(self, video_path:str) -> None:
        self.fps = 15
        self.video_path = video_path.replace('\\','/') + '.avi'
        self.process = multiprocessing.Process(
             target=self.capture_screen,
             args=(),
             name='Screen Capture'
    def capture_screen(self):
        SCREEN_SIZE = tuple(pyautogui.size())
        fourcc = cv2.VideoWriter_fourcc(*'XVID')
        out = cv2.VideoWriter(self.video_path, fourcc, self.fps, (SCREEN_SIZE))
        img = None
        print(f'Screen capture started')
        # MSS
        w, h = pyautogui.size()
        monitor = {'top':0, 'left':0, 'width':w, 'height':h}
        with mss() as sct:
            while True:
                try:
                    try:
                        img = sct.grab(monitor=monitor)
                        frame = np.array(img)
                        frame = cv2.cvtColor(frame, cv2.COLOR_BGRA2BGR)
                        out.write(frame)
                    except IOError:
                except KeyboardInterrupt:
                    break
            cv2.destroyAllWindows()
            out.release()
        # # PILLOW
        # from PIL import ImageGrab
        # w, h = pyautogui.size()
        # while True:
        #     try:
        #         try:
        #             img = ImageGrab.grab(bbox =(0, 0, w, h))
        #             frame = np.array(img)
        #             frame = cv2.cvtColor(frame, cv2.COLOR_BGR2RGB)
        #             out.write(frame)
        #         except IOError:
        #             pass
        #     except KeyboardInterrupt:
        #         break
        # cv2.destroyAllWindows()
        # out.release()
        # # PYAUTOGUI
        # while True:
        #     try:
        #         try:
        #             img = pyautogui.screenshot()
        #             frame = np.array(img)
        #             frame = cv2.cvtColor(frame, cv2.COLOR_BGR2RGB)
        #             out.write(frame)
        #         except IOError:
        #             pass
        #     except KeyboardInterrupt:
        #         break
        # cv2.destroyAllWindows()
        # out.release()
    def start_capture(self):
        self.process.start()
    def finish_capture(self):
        if not self.process.is_alive():
            print('The process is not executing')
        else:
            self.process.terminate()
            sleep(3)
            print('Screen capture finished')
