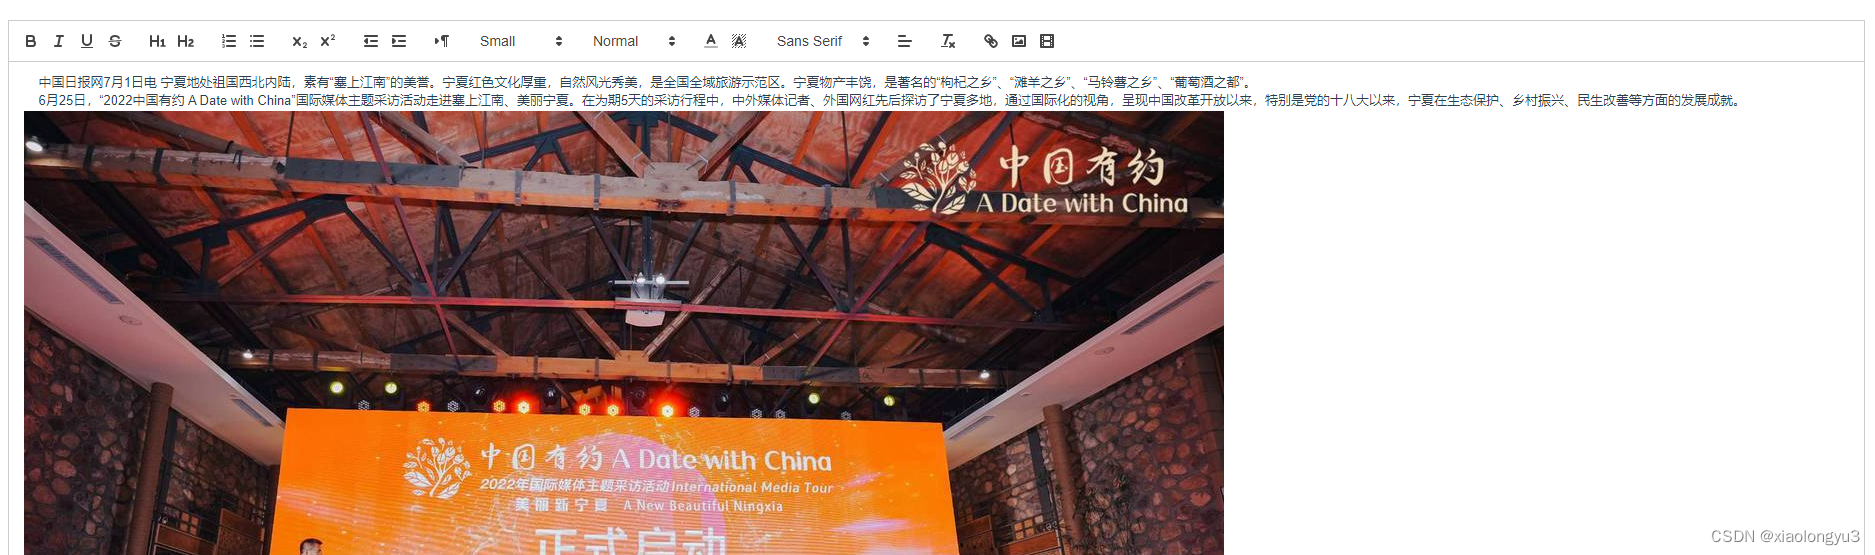
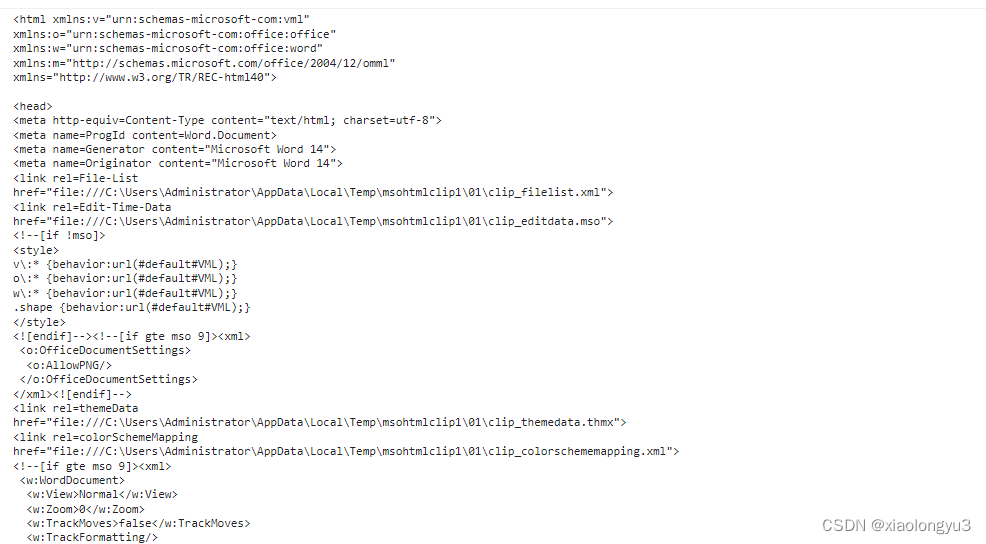
在使用富文本编辑器时,通常 word 整体粘贴时,图片总是无法正常显示,图片地址会是 src=”//0”的情况,这主要时因为,我们整体粘贴时,实际上我我们粘贴过去的是一片 word 的 dom 字符串,其中编辑器会为我们过滤其他无用标签,保留了主要部分。由于粘贴时候 word 文档中图片部分实际上引用的是本地地址,由于浏览器和 js 限制无法读取或者操作本地文件,因此无法正常显示。如果是网络上复制粘贴的文档则可以正常显示。
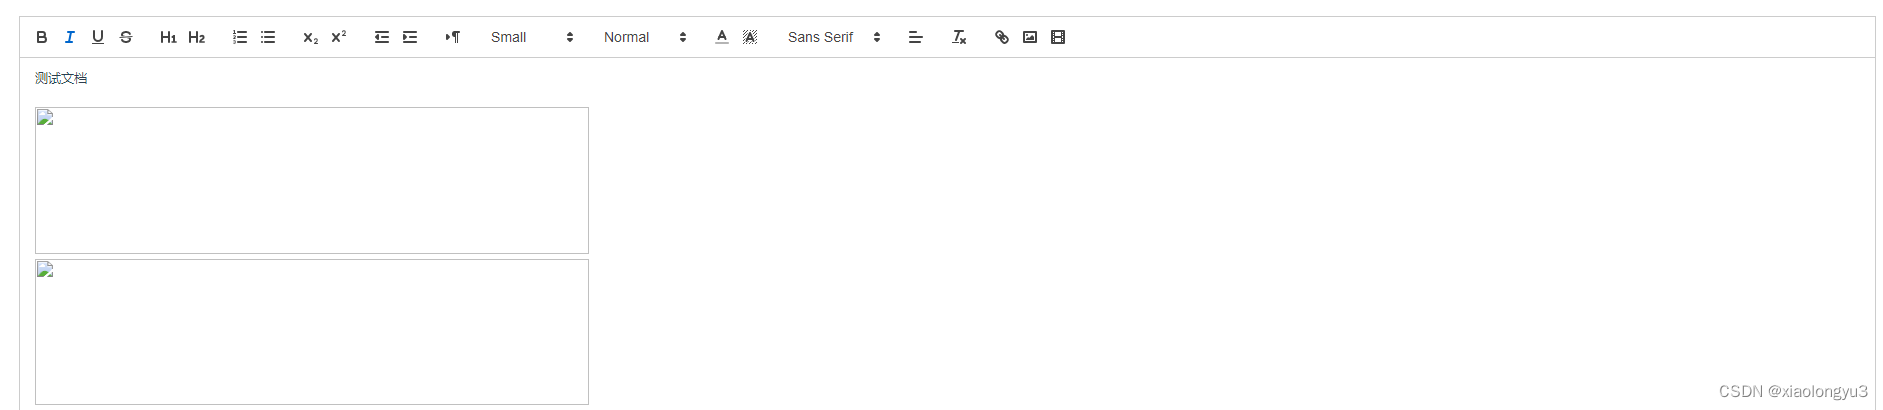
一下是从 word 直接粘贴过来的效果
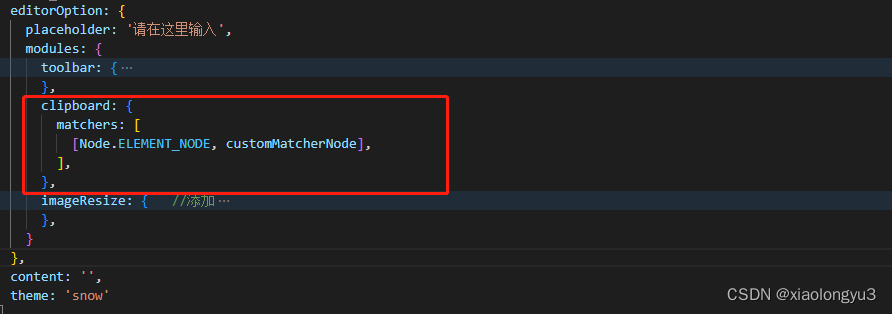
let quill = this .$refs.myQuillEditor.quill;"paste" ,if ((file ) => {if (!file.type.match(/^image\/(gif|jpe?g|a?png|bmp)/i )) {return ;console .log('单个图片粘贴' , file);const reader = new FileReader()(e ) => {"image" ,(error ) => reject(error)
function extractImageDataFromRtf (rtfData ) if (!rtfData) {return [];const regexPictureHeader =const regexPicture = new RegExp ("(?:(" + regexPictureHeader.source + "))([\\da-fA-F\\s]+)\\}" ,"g" const images = rtfData.match(regexPicture);const result = [];if (images) {for (const image of images) {let imageType = false ;if (image.includes("\\pngblip" )) {"image/png" ;else if (image.includes("\\jpegblip" )) {"image/jpeg" ;if (imageType) {"" )/[^\da-fA-F]/g , "" ),return result;
function convertHexToBase64 (hexString ) return btoa(/\w{2}/g )(char ) => {return String .fromCharCode(parseInt (char, 16 ));"" )
富文本编辑器 word 整体粘贴实现图片自动展示(一)
缺失模块。